Showing posts with label DIY. Show all posts

Wednesday, March 27, 2013

Carolina Cup Week: The Hat

It's no secret that Carolina Cup is an event where a mantra is "Go big or go home." This is perfectly understood in your choice of a hat!

Last year I had that pink striped floppy hat, and two years ago I had a plain straw hat from Belk with a bow that I added myself:
It actually came initially attached with the most heinous zebra-y/giraffe-y scarf that I took off and then added the bow in place of! Keep that in mind while searching for hats--most attached scarves are removable with scissors and a little elbow grease!

The most important part about your hat is matching it with your dress of course! There are so many different options for Cup hats that you can choose!
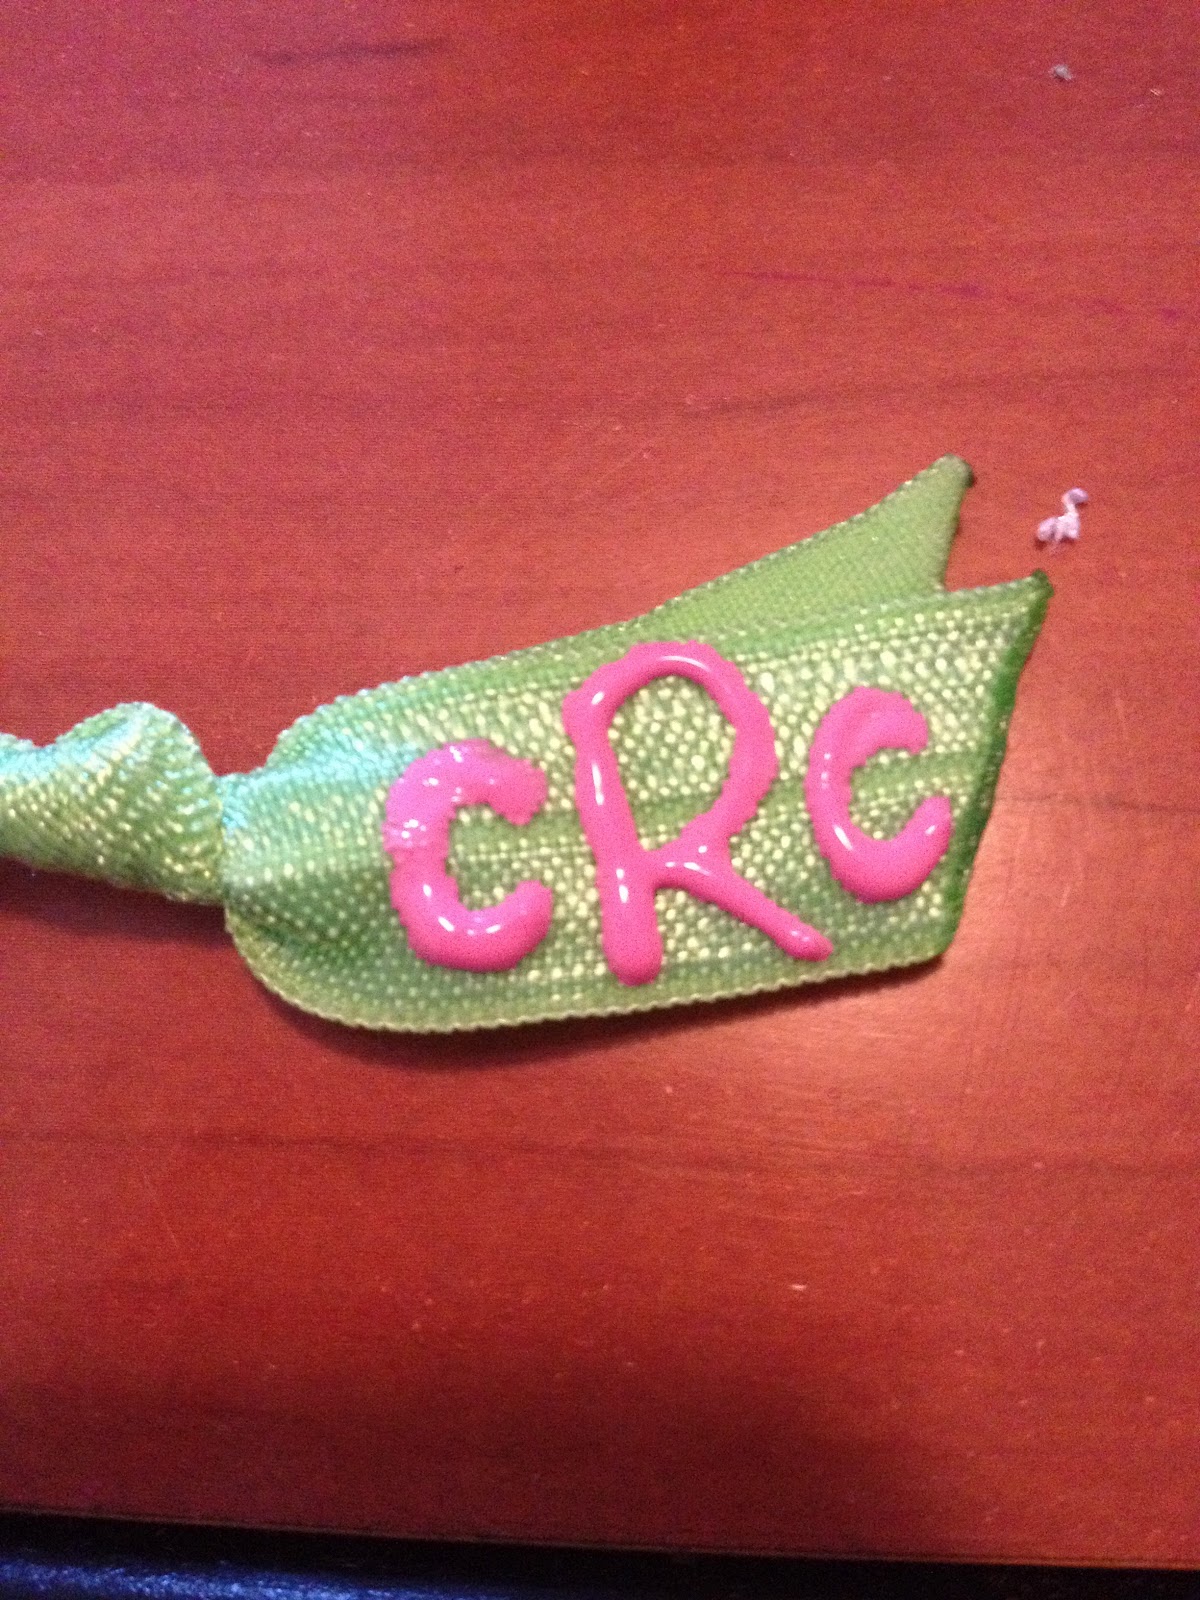
Marley Lilly has certainly become a force to be reckoned with as far as Cup hat choices go! They have SO many different color options that you are bound to find one that will match your dress. They even offer monogramming too to make it personal!
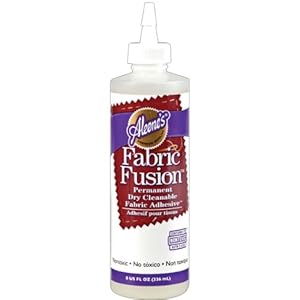
Target has great options in-store if you need a hat in a pinch! What's great about a plain, straw hat like this one, is that you can add a ribbon to match your dress. Like I said, that's what I did two years ago and it was great! I tied a false bow, and glued it down with fabric glue--I even added a few staples in invisible spots to make it REALLY secure!
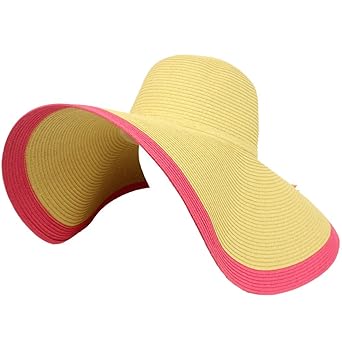
Yet again, the bigger the better! This hat from Amazon has my name all over it! I'd even love to rock this one AFTER the Cup!

What does your hat look like? Are you added fun accessories like a bow or sash?

ANYONE have any good suggestions on how to avoid hat head also? LET ME KNOW!

xxKatie

Thursday, November 8, 2012

Crafternoon: DIY Bejewled Koozie

This was one of my projects for Hannah's big 21st! I bejewled a Cruisey for her to use on her big day!

It was such a fun gift and so easy! All you need is your koozie or Cruisey, rhinestones and fabric glue!

I still have 100's of rhinestones left over from this crafternoon (more aptly named, crafter-month):
You can find the complete project here!

If you want to bejewel your koozie, it's VERY simple!

STEP 1: INSERT A CAN INSIDE YOUR KOOZIE! This is very important--koozies tend to expand when a drink is inside vs. when it's empty! Once you bejewel it, it will not be able to expand without ruining your sparkle!

STEP 2: Cover a small section in fabric glue! I just used standard fabric glue from a bottle. I covered my koozie in 1 inch sections of glue and then put the rhinestones on.

STEP 3: Apply rhinestones! The koozie will absorb a LOT of glue, so be sure to only do a small section at a time. This strategy works much better.

STEP 4: Repeat. Often! I ended up applying too much glue in some places, so I had to be careful that gravity didn't work against me. If you do apply too much glue, just spread it out over more of the koozie and work quickly! 

STEP 5: Be patient and let it dry. Mine probably took 24 hours to dry entirely. Once it's dry, take your can out and you'll find that you koozie is extremely hard now! It's going to be a little heavy, but fun and festive nonetheless!
STEP 6: Insert your new drink of choice and enjoy! Although it's a little blurry, I snagged Hannah's bejeweled Cruisey one night since it matched my dress PERFECTLY! It was too much fun and everyone wanted their own!

Be sure to try this crafternoon out on your own--too much fun and you'll LOVE the way it turns out! If you end up making your own, Instagram (@letsbepreppy) it and tag me so I can see the fabulous results!

xxKatie

Tuesday, October 30, 2012

Free (Water) Fallin'

Something I always wished I was good at doing is hair. I'm not good at curling, my arms get tired trying to do updo's, and I cannnnnot manage to do a sock bun on myself. I get frustrated VERY easily and then tend to give up!

One of the girls who works at the store with me texted me and asked if I could do a waterfall braid. I texted her back saying I didn't, but look for something on Pinterest like a how-to or something like that that might help. I didn't think about it again until I went into work that following Friday.

She ended up coming in and we played around with it and then finally figured it out! It was SO easy!!! Like I said, that's coming from someone who's NOT good at doing hair! We found a quick tutorial that was easy to understand:

We followed this set of rules and did it ourselves! The first time it ended up cute, but we took it out and re-did it with a better strategy in mind. The second time it came out GREAT! Once we got to the end, we ended it with a clear elastic and wrapped another piece of hair around the elastic, securing it with a blonde bobby pin! Taylor wore her hair like this to a wedding and it looked SMASHING! This is a great hairstyle instead of doing the usual half-up-half-down look and it definitely adds some va-voom to your look!

xxKatie

Tuesday, October 23, 2012

Crafternoon: DIY Preppy Pumpkins


Last year my boss and I had a crafternoon at work and made these great Lilly pumpkins!

They were easy and you don't need many supplies at all!

Supplies:
1. Pumpkins: we used hollow ones from Hobby Lobby that were light and small
2. Wrapping Paper: in your print of choice
3. Mod Podge: lots, this is more like paper mache!
4. Glitter: if you want to make a baby glitter pumpkin
5. Green paint if you want to spruce up the stems

Steps for wrapping paper pumpkins:
1. Cut your wrapping paper into 1'' thick strips--this makes placement on the pumpkin MUCH easier
2. Paint a small section, maybe 3'' wide, of your pumpkin with Mod Podge
3. Cover that wet area of the pumpkin with dry wrapping paper strips--1 at a time
4. Paint strip of wrapping paper with Mod Podge--during this step you are trying to saturate the paper to make it lay flat. Getting it saturated is really a key.
5. Repeat

Steps for glitter pumpkins:
I definitely did this pumpkin backwards last year when I did it, but I know a better way now!
1. Mix glitter and Mod Podge in a small bowl
2. Paint pumpkin with glittery paste mixture
3. Let layer dry
4. Repeat as necessary for full coverage

Glue may drip, in fact glue dripped EVERYWHERE on our pumpkins. Because of that, when we peeled the dry pumpkins off the drying surface (a styrofoam plate) some of the bottom of the paper peeled off/stuck to the plate. This is ok! It will all be hidden when the pumpkin stands up or is displayed!

This DIY pumpkin craft is a great craft if you don't like carving pumpkins. I don't really like goopy guts inside the pumpkin, so I am much more inclined  to make something like this! Plus, these pumpkins can be packed and reused year upon year. A year later and our pumpkins look great! 

Happy Halloween Crafting!

xxKatie

Monday, August 27, 2012

Crafternoon: No-Crimp Elastics Day 2

Yesterday's post featured our DIY no-crimp hair elastics! TOO cute!

Today makes them even more special though! This is an AWESOME twist on these DIY hair ties so now you can make them more personal:
MONOGRAM IT!

If you can personalize something, it makes it that much more fun!

When we were shopping in Michaels, the idea came to me right after I checked out. I made my friends wait a few more minutes so I could run back and get paints:
I used the cheap Michaels brand paints that look like this. They came in close to like 40 or 50 colors so you can REALLY personalize what they look like!
I made this one to add to my sister's care package!
This one was for my friend Jami--who actually has the same monogram as her sister! Isn't that the coolest?! What a great idea for hand-me-downs!
This was for Miss Colleen!
Now you can see what they look like once they're completed. The monogrammed hair elastics have longer tails on the ends, so be sure to keep enough room to add the monogram!
I am SO pleased with the way that these turned out! I used multiple colors for the cRa elastic since that one was mine--it was just as easy! I started with the BIG last name initial and then did the smaller first and middle initials. You can also just use your first letter initial too! That was the first one that I did to test the waters!

I am OBSESSED with the way that these turned out! I couldn't wait to share them with y'all! 

Happy crafting! If you make some of your own, be sure to post them on Instagram or Tweet them and tag @letsbepreppy on BOTH!

xxKatie

Sunday, August 26, 2012

Crafternoon: No-Crimp Elastics Day 1

I'm sure y'all have seen these hair ties EVERYWHERE! I'm sure you've also seen their OUTRAGEOUS price tag. Usually a pack of 4 is more than $10! I've seen them places as expensive as $4 for ONE!?!

I. Think. That. Is. Insane.

It's a glorified hair elastic. Yes, it's pretty and colorful, but eventually will get stretched out or lost just like every other one you've ever had. My friend Hannah and I decided that we just weren't ok with buying them and wanted to do them on our own!

The follow supplies are all you need:
Elastic material, we got these packs from Michaels. Right on the shelf! Didn't have to order them from anywhere special!
This is what it looks like up close. They came in like 7 or 8 different colors, and I snagged all the ones I wanted to try!
Use a REALLY sharp scissor and a far away/distance lighter--don't use a close up one, you'll want the space between your fingers and the lighter (especially if you're wearing nail polish like I am always)!

You cut the elastic to a length you like, and then tie it. The length can be tough to decide since smaller ones will be tighter. If you have hair like me, it's insanely thick and I needed more stretch and extra "circles" to twist my hair through than most people! I found that about 7'' was pretty common. I just used the length from the tip of my middle finger to the end of my palm and used that measurement...so official!


Twist and tie until you get the shape and length tails you want! Once you have those, burn the ends to seal the elastic. (Mom, I know you're going to cringe since we were dealing with fire...) You don't have to put it in the flame, but just close enough. The elastic CAN catch fire, but it never needs to be that close.

(Nail color: Essie's "Cute as a Button"
You can tie it this way, with the tails together by making a simple knot and it will look like this in your hair:

You can also tie it in a knot like you'd tie rope, with the tails apart:
(Nail color: Essie's "Turquoise and Caicos")
It will look more like a bow in your hair:
Also very cute!

Tomorrow's post is a special twist that you can put on these famously no-crimp hair ties! I cannot wait to show you the special change I made to make them SO CUTE! Y'all will FLIP!

xxKatie 

Tuesday, August 7, 2012

What's On My Walls?

I figured since I haven't said very much about my new room yet, that I would share some of the decor!
The first thing that you see is my DIY door decoration! (For directions to do your own, click here!)
Right next to my closet, you see this framed Lilly print, "Skip on It"! I love this because it's the same print as the dress from my 21st birthday! Another part of this that I love is the double mat--I feel like you don't see a skinny colored mat with pictures and I love the POP that it gives the print! This was a gift from my boss at the store.
On the wall opposite my bed, I have a bulletin board hanging with things I need to do, and other materials. The two clip boards are summer goals and LBP goals (a few of which are on both!)!!
Above my desk, I have HUGE poster sized framed prints that I adore! It really makes my desk feel like a mini office and I love how close my family and friends are to me! I had these prints printed from CVS with a 40% off coupon code, so I only had to pay $9 for BOTH!
I obviously had to include my sister on my walls and thought that this picture was too cute from her graduation!
I live along the front of our house (as does my roomie upstairs with me) and so I have a MASSIVE window that lights up my room! Next to the window (opposite the 21st birthday print, if you can imagine a layout like that...) I have these two canvases hanging. Both of these were DIY's also! (For directions on the rhinestone monogram, click here!) This is one of my favorite walls in my room. I love how these two canvases look stacked on top of each other. The bottom canvas has my name, Katie, spelled out in boat flags on the top, and my monogram, cRa on the bottom! 

xxKatie

Tuesday, July 10, 2012

Crafternoon: Glitter Decorations


I was feeling inspired when we were crafting (more crafts to follow this week--we had a crafty weekend!) on Sunday when I thought that I would attempt something that I've had my eye on from Pinterest:
I didn't use canvases, but chose to do mine on little thin wood discs!
Super plain, $.79 discs I had from Hobby Lobby from MONTHS ago that were lying around.
Then I painted them a random pink I had lying around that I liked.
Then I freehanded my initials onto the painted discs as a guide to where to put the Mod Podge and glitter! We're finally getting to the fun parts!!
I painted MP onto the letters, and I put two coats on to make sure they were wet. (This ended up slightly being a mistake. I tackled this craft with no directions so it was a game of trial and error. You'll still need both supplies anyway!)
I used the glitter and covered the letters with all the Mod Podge. Like I said, this was a mistake. You'll see what I did instead for more full coverage.
I did what all those blogs suggest and mixed a bunch of Mod Podge with the glitter to make a glitter paste and pasted on top of the existing glitter. This worked MUCH better.
It really started to take shape at this point!
Since I used discs instead of canvases, it made hanging a little bit more difficult. I decided to go the 7-year-old-room's-decoration-route and use ribbon! I made a false bow and glued the rest onto a long ribbon.
Then I combined all the pieces and voila:
I was so excited with the way it turned out! I put it on the front of my bedroom door so that anyone who comes over knows which room is mine! I am SO happy with the look and couldn't wait to share it with y'all!

Maybe you'll want to try this craft on your own! It was so easy, cheap since I had everything laying around, and looks great when finished! Happy crafting y'all!

xxKatie

Saturday, April 28, 2012

Feelin' Crafty: Framed Shift

This is one of my favorite (and easiest) DIY's! 

I was given this frame as a gift and always look for special things to put in it! I saw this quite awhile ago and spoiled this post a little by tweeting the quote a few nights ago, but it was too fun not to share!

This really was SO SO SO easy! All I did was find the shift online as a picture, printed it out, cut it out, typed up the quote in a fun font, and printed that out as well. I glued the dress onto the quote and put it in the frame! You could even use teeny tiny tape circles if you didn't feel like waiting for glue to dry!

Try this craft out for yourself and brighten up you day, desk, or wall!

xxKatie

Monday, April 23, 2012

MyChaco

I used to not really understand the whole "Chaco" craze on campus. I thought they were very sporty, beach shoes, that weren't exactly my cup of tea. Until last summer...I got my own pair, the exact pair you see above and absolutely became a believer!

What's really cool now though, with Chacos, is the new MyChaco feature! You can design your own (kinda like the NikeID huge craze that happened when I was in like 7th-9th grade) and choose pretty much everything! Fooling around on the site last night, this was the design that I came up with:
There are 10 different steps that the program will walk you through and these were my different selections:
1. Webbing: Peppermint
2. Heel Leash: Sweetwater (don't you just love that name?)
3. Heel Riser: Black
4. Buckle Strap: Black
5. Buckle: Black
6. Stitching: Holly Berry
7. Footbed: Black
8. Sole: Black
9. Logo Badge: No Badge
10. Directions: None!

I like the MyChaco because I can make them pink! I've never seen a pink pair before, so I love the idea of customizable pink ones!!

Do you wear Chacos? Are they big on your campus? Have you ever designed your own?

xxKatie