Showing posts with label Arts and Crafts. Show all posts

Thursday, November 8, 2012

Crafternoon: DIY Bejewled Koozie

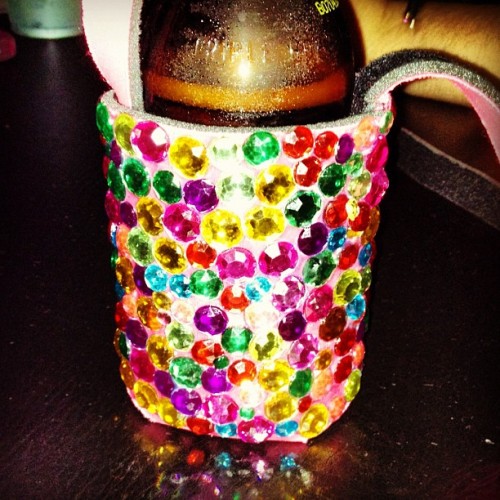
This was one of my projects for Hannah's big 21st! I bejewled a Cruisey for her to use on her big day!

It was such a fun gift and so easy! All you need is your koozie or Cruisey, rhinestones and fabric glue!

I still have 100's of rhinestones left over from this crafternoon (more aptly named, crafter-month):
You can find the complete project here!

If you want to bejewel your koozie, it's VERY simple!

STEP 1: INSERT A CAN INSIDE YOUR KOOZIE! This is very important--koozies tend to expand when a drink is inside vs. when it's empty! Once you bejewel it, it will not be able to expand without ruining your sparkle!
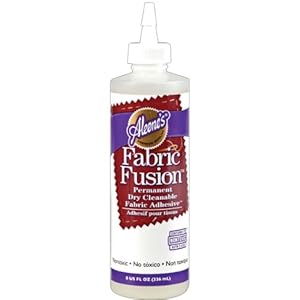
STEP 2: Cover a small section in fabric glue! I just used standard fabric glue from a bottle. I covered my koozie in 1 inch sections of glue and then put the rhinestones on.

STEP 3: Apply rhinestones! The koozie will absorb a LOT of glue, so be sure to only do a small section at a time. This strategy works much better.

STEP 4: Repeat. Often! I ended up applying too much glue in some places, so I had to be careful that gravity didn't work against me. If you do apply too much glue, just spread it out over more of the koozie and work quickly! 

STEP 5: Be patient and let it dry. Mine probably took 24 hours to dry entirely. Once it's dry, take your can out and you'll find that you koozie is extremely hard now! It's going to be a little heavy, but fun and festive nonetheless!
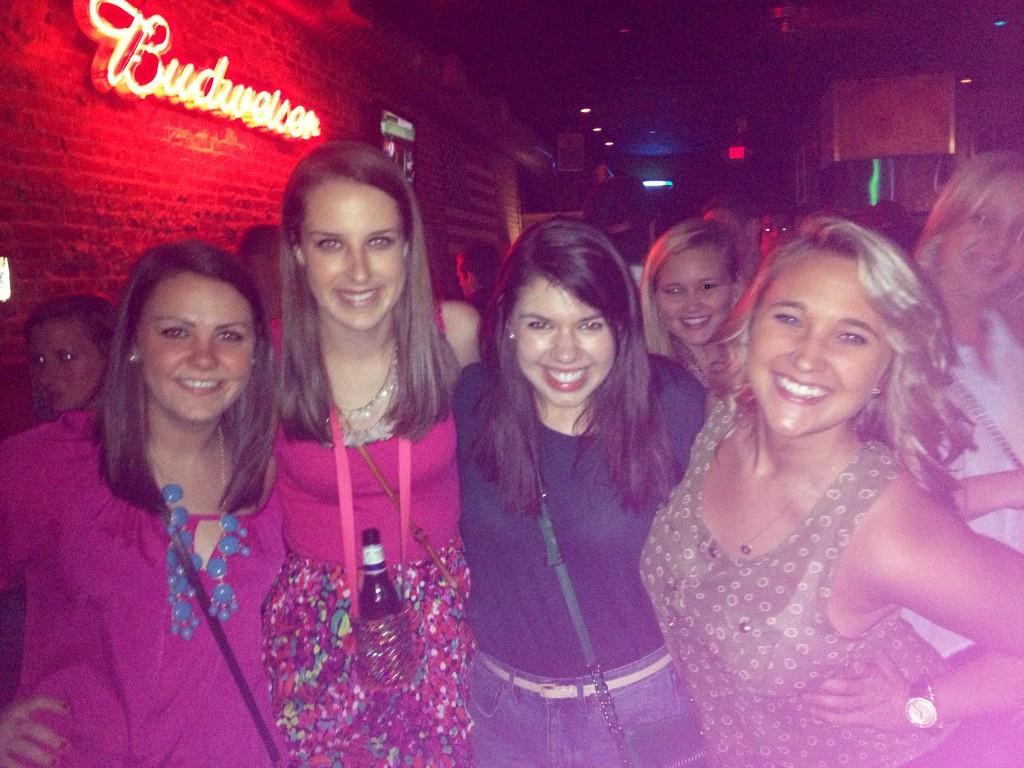
STEP 6: Insert your new drink of choice and enjoy! Although it's a little blurry, I snagged Hannah's bejeweled Cruisey one night since it matched my dress PERFECTLY! It was too much fun and everyone wanted their own!

Be sure to try this crafternoon out on your own--too much fun and you'll LOVE the way it turns out! If you end up making your own, Instagram (@letsbepreppy) it and tag me so I can see the fabulous results!

xxKatie

Tuesday, October 23, 2012

Crafternoon: DIY Preppy Pumpkins


Last year my boss and I had a crafternoon at work and made these great Lilly pumpkins!

They were easy and you don't need many supplies at all!

Supplies:
1. Pumpkins: we used hollow ones from Hobby Lobby that were light and small
2. Wrapping Paper: in your print of choice
3. Mod Podge: lots, this is more like paper mache!
4. Glitter: if you want to make a baby glitter pumpkin
5. Green paint if you want to spruce up the stems

Steps for wrapping paper pumpkins:
1. Cut your wrapping paper into 1'' thick strips--this makes placement on the pumpkin MUCH easier
2. Paint a small section, maybe 3'' wide, of your pumpkin with Mod Podge
3. Cover that wet area of the pumpkin with dry wrapping paper strips--1 at a time
4. Paint strip of wrapping paper with Mod Podge--during this step you are trying to saturate the paper to make it lay flat. Getting it saturated is really a key.
5. Repeat

Steps for glitter pumpkins:
I definitely did this pumpkin backwards last year when I did it, but I know a better way now!
1. Mix glitter and Mod Podge in a small bowl
2. Paint pumpkin with glittery paste mixture
3. Let layer dry
4. Repeat as necessary for full coverage

Glue may drip, in fact glue dripped EVERYWHERE on our pumpkins. Because of that, when we peeled the dry pumpkins off the drying surface (a styrofoam plate) some of the bottom of the paper peeled off/stuck to the plate. This is ok! It will all be hidden when the pumpkin stands up or is displayed!

This DIY pumpkin craft is a great craft if you don't like carving pumpkins. I don't really like goopy guts inside the pumpkin, so I am much more inclined  to make something like this! Plus, these pumpkins can be packed and reused year upon year. A year later and our pumpkins look great! 

Happy Halloween Crafting!

xxKatie
Monday, August 27, 2012

Crafternoon: No-Crimp Elastics Day 2

Yesterday's post featured our DIY no-crimp hair elastics! TOO cute!

Today makes them even more special though! This is an AWESOME twist on these DIY hair ties so now you can make them more personal:
MONOGRAM IT!

If you can personalize something, it makes it that much more fun!

When we were shopping in Michaels, the idea came to me right after I checked out. I made my friends wait a few more minutes so I could run back and get paints:
I used the cheap Michaels brand paints that look like this. They came in close to like 40 or 50 colors so you can REALLY personalize what they look like!
I made this one to add to my sister's care package!
This one was for my friend Jami--who actually has the same monogram as her sister! Isn't that the coolest?! What a great idea for hand-me-downs!
This was for Miss Colleen!
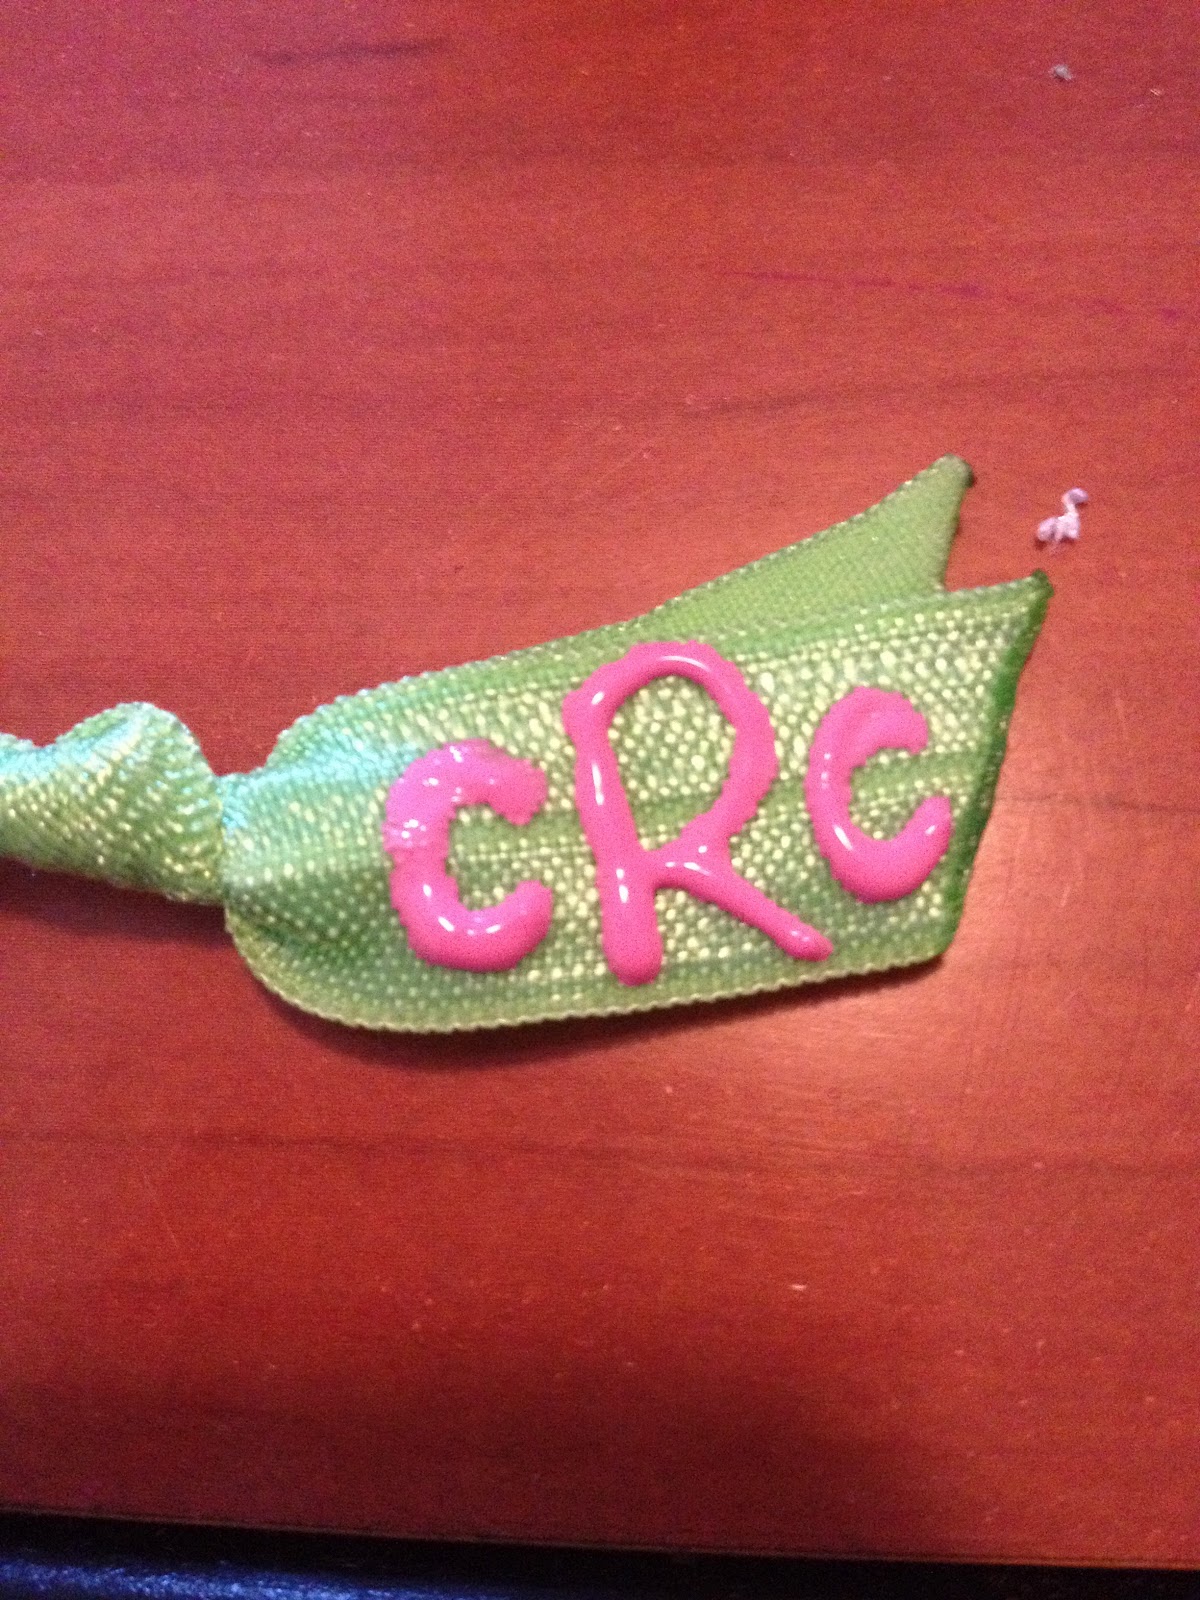
Now you can see what they look like once they're completed. The monogrammed hair elastics have longer tails on the ends, so be sure to keep enough room to add the monogram!
I am SO pleased with the way that these turned out! I used multiple colors for the cRa elastic since that one was mine--it was just as easy! I started with the BIG last name initial and then did the smaller first and middle initials. You can also just use your first letter initial too! That was the first one that I did to test the waters!

I am OBSESSED with the way that these turned out! I couldn't wait to share them with y'all! 

Happy crafting! If you make some of your own, be sure to post them on Instagram or Tweet them and tag @letsbepreppy on BOTH!

xxKatie

Sunday, August 26, 2012

Crafternoon: No-Crimp Elastics Day 1

I'm sure y'all have seen these hair ties EVERYWHERE! I'm sure you've also seen their OUTRAGEOUS price tag. Usually a pack of 4 is more than $10! I've seen them places as expensive as $4 for ONE!?!

I. Think. That. Is. Insane.

It's a glorified hair elastic. Yes, it's pretty and colorful, but eventually will get stretched out or lost just like every other one you've ever had. My friend Hannah and I decided that we just weren't ok with buying them and wanted to do them on our own!

The follow supplies are all you need:
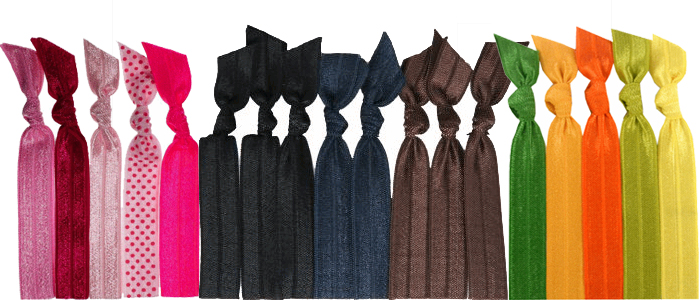
Elastic material, we got these packs from Michaels. Right on the shelf! Didn't have to order them from anywhere special!
This is what it looks like up close. They came in like 7 or 8 different colors, and I snagged all the ones I wanted to try!
Use a REALLY sharp scissor and a far away/distance lighter--don't use a close up one, you'll want the space between your fingers and the lighter (especially if you're wearing nail polish like I am always)!

You cut the elastic to a length you like, and then tie it. The length can be tough to decide since smaller ones will be tighter. If you have hair like me, it's insanely thick and I needed more stretch and extra "circles" to twist my hair through than most people! I found that about 7'' was pretty common. I just used the length from the tip of my middle finger to the end of my palm and used that measurement...so official!


Twist and tie until you get the shape and length tails you want! Once you have those, burn the ends to seal the elastic. (Mom, I know you're going to cringe since we were dealing with fire...) You don't have to put it in the flame, but just close enough. The elastic CAN catch fire, but it never needs to be that close.

(Nail color: Essie's "Cute as a Button"
You can tie it this way, with the tails together by making a simple knot and it will look like this in your hair:

You can also tie it in a knot like you'd tie rope, with the tails apart:
(Nail color: Essie's "Turquoise and Caicos")
It will look more like a bow in your hair:
Also very cute!

Tomorrow's post is a special twist that you can put on these famously no-crimp hair ties! I cannot wait to show you the special change I made to make them SO CUTE! Y'all will FLIP!

xxKatie 

Wednesday, August 15, 2012

Crafternoon: Clemson Cooler

I love my South Carolina Gamecocks. I will start by saying that. I do, however, live with a roommate who has a boyfriend who is a Clemson Tiger! (I know, I know, what am I doing?!)
We'd been brainstorming for about a month on what to do for his birthday cooler. I have the final product and let me say, my roommate knocked this one out of the park!
This was the front of the cooler! The blurry part is just his last name and I didn't want to share that, but it looked SO cute in her adorable handwriting! I loved the front and how closely she stuck to the Clemson theme!
This was BY FAR my favorite side! I thought Miss Kathryn did a GREAT job and how FIERCE LOOKIN' is that tiger face? AMAZING. I would also like to note that she free handed that...
This was the back and was personalized to him! Aiken is his hometown, and there's a baby Clemson paw at Clemson and a heart for her at Columbia.
Her boyfriend loves the Avatar show and follows it closely and I loved how this side turned out! I like the primary colors and how unique it is for a cooler!
Kathryn's boyfriend is an engineering major and this side was a little homage to that! I thought this idea was BRILLIANT especially since I'd never seen anything like that before on a cooler. TOO cool! 

I thought that a lot of my Clemson readers would appreciate this post! Kathryn and I were so excited when it was finished and she couldn't WAIT to give it to him for his 21st birthday! It was such a fun, thoughtful 21st birthday gift AND appropriate. I don't know what guy wouldn't want a cooler this special for his birthday!

xxKatie

(P.S.: GO GAMECOCKS! ...y'all I had to...)

Sunday, August 12, 2012

Crafternoon: Nautical Flags Name & Monogram


A few days ago I gave y'all a peek into my room! I featured my DIY wall, which you can see above! While I'm not very good at most crafty things, I did come up with this project on my own!

I bought these canvases when I did my rhinestone project and two came in a pack. One was used in the rhinestone monogram and the other sat around untouched for a few months. After the inordinate amount of patience necessary for that rhinestone monogram, I was CRAFTED OUT. I was inspired when my roommate painted her cooler (final product coming this week!) and I wanted to do something too!

Using nautical flags, I painted that canvas in the color scheme of my bedding. I used these flags for reference:

The top line of my canvas is my name: K-A-T-I-E
The bottom line is my monogram: c-R-a

Since Katie is with a K, and I always do my monogram with Catherine, my "real" first name, it created some interest and is about as close to a conversation piece I could come up with!

At the time, my roommate and I couldn't find a ruler if our lives depended on it, so I used index cards to measure out my flags! Hee-hee!

If you're feeling crafty, this is a great project to try! It was easy and fun and I'm sure if you're an avid crafter, you've probably got everything you have in your craft closet!

xxKatie

Monday, July 30, 2012

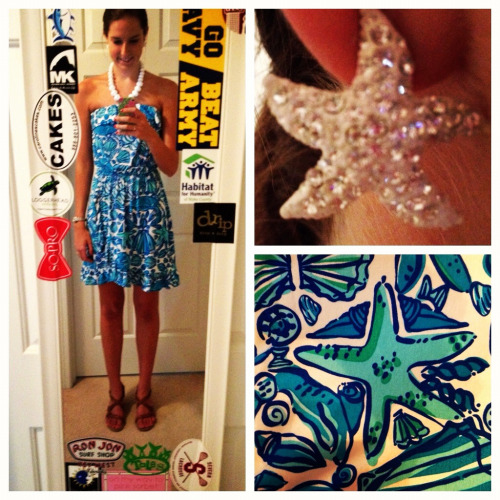
A Look in The Mirror

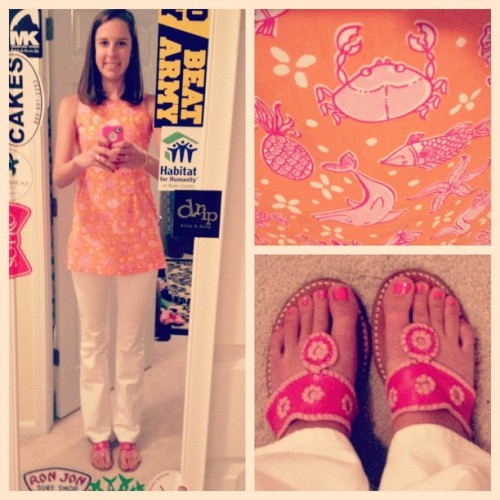
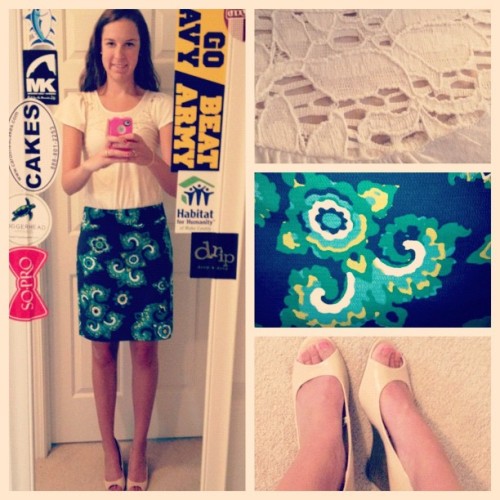
By now, a lot of y'all have seen my outfit of the day (OOTD) posts! They feature my outfits of choice for work, internship days, going out and more. They also feature another player though, my mirror!

I'm sure you have also seen how busy that mirror is with all my stickers!
Going Out
Internship
Work

See all the stickers? Maybe you haven't noticed them as much as you have now! I worried about putting stickers on my laptop (or car) like a lot of college students do because I wasn't sure if they'd come off AND I didn't want to ruin the most valuable things that I own. I decided that this would be a more fun alternative!
I've added a few new stickers including the Vineyard Vines sicker on the bottom of the mirror! As you can see it's a lot of stores/brands and even one for my high school's lacrosse team!
The top features two restaurants, more brands and stores, and a crowd favorite of the "Go Navy Beat Army" sticker that my mom sent me in a care package freshman year! 

This is definitely a fun way to showcase all your favorite stickers without having to put them on your car or laptop! Ever thought about where you can incorporate yours? I've also seen people put them on the top of their desks with a glass pane on top--I LOVE that idea too!

Where do you put all of yours?

xxKatie

Saturday, July 21, 2012

Outfit of the Day: Upcycling

I posted this picture on Instagram about a week ago and included my upcycling project!

If you can see the tunic top that I'm wearing, believe it or not, it humbly started out as a Minnie's size 14 shift dress! My mom and I found it in a consignment store in Rehoboth, Delaware (just down the road from where I am now!) for $40! Springing at the chance for a little DIY project, she told me to get it and we would figure out how to make it work! I'm lucky because I'm small chested and this top has NO darts or extra material in the chest, but I was able to get into it!

We took the dress home and to the tailor that we trust with our favorite things. She vented the sides up about 7 or 7.5 inches to make it a much better tunic fit. She also removed the bows from the shift and voila it was a tunic for me! It's a little hard to see, but there's this rocking square neckline that's so much fun. 

An upcycling project just goes to show that you CAN very easily transition a fun piece with very little work! We transformed this dress to a tunic in a matter of days with just a teensy bit of assistance, but you could TOTALLY tackle this project on your own! Keep your eyes out for girls' dresses that you can do this to yourself!

Have you ever done a project like this? Have you transformed (upcycled) a piece of clothing to a new, fresh piece?

Happy upcycling!

xxKatie

Tuesday, July 10, 2012

Crafternoon: Glitter Decorations


I was feeling inspired when we were crafting (more crafts to follow this week--we had a crafty weekend!) on Sunday when I thought that I would attempt something that I've had my eye on from Pinterest:
I didn't use canvases, but chose to do mine on little thin wood discs!
Super plain, $.79 discs I had from Hobby Lobby from MONTHS ago that were lying around.
Then I painted them a random pink I had lying around that I liked.
Then I freehanded my initials onto the painted discs as a guide to where to put the Mod Podge and glitter! We're finally getting to the fun parts!!
I painted MP onto the letters, and I put two coats on to make sure they were wet. (This ended up slightly being a mistake. I tackled this craft with no directions so it was a game of trial and error. You'll still need both supplies anyway!)
I used the glitter and covered the letters with all the Mod Podge. Like I said, this was a mistake. You'll see what I did instead for more full coverage.
I did what all those blogs suggest and mixed a bunch of Mod Podge with the glitter to make a glitter paste and pasted on top of the existing glitter. This worked MUCH better.
It really started to take shape at this point!
Since I used discs instead of canvases, it made hanging a little bit more difficult. I decided to go the 7-year-old-room's-decoration-route and use ribbon! I made a false bow and glued the rest onto a long ribbon.
Then I combined all the pieces and voila:
I was so excited with the way it turned out! I put it on the front of my bedroom door so that anyone who comes over knows which room is mine! I am SO happy with the look and couldn't wait to share it with y'all!

Maybe you'll want to try this craft on your own! It was so easy, cheap since I had everything laying around, and looks great when finished! Happy crafting y'all!

xxKatie